2 搭建Object Detection环境
2.1 安装TensorFlow模型库
新建一个文件夹,本文示例为:odapi_gwt;
下载包:
1) 通过网址下载https://github.com/tensorflow/models/archive/master.zip,下载失败的话,多试几次即可;
2) 通过git下载项目到本地,项目地址https://github.com/tensorflow/models;
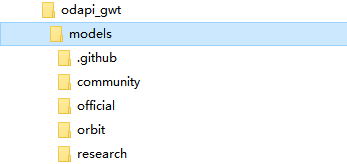
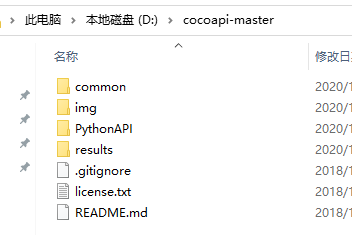
复制压缩包到刚才新建的文件夹,解压到当前文件夹,并重命名modes_master 变为models;
新建的文件夹结构应该如下所示:
2.2 Protobuf安装与编译
Tensorflow目标检测API使用Protobufs来配置模型和训练参数。在使用框架之前,必须下载并编译Protobuf库。
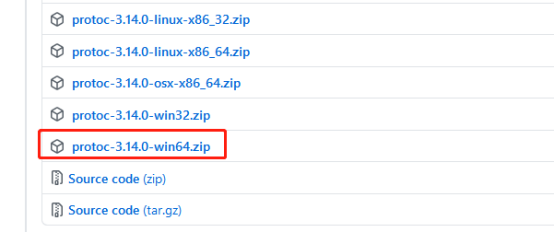
2.2.1 下载protoc
下载网址https://github.com/google/protobuf/releases,选择最新的python版本下载。
2.2.2 验证
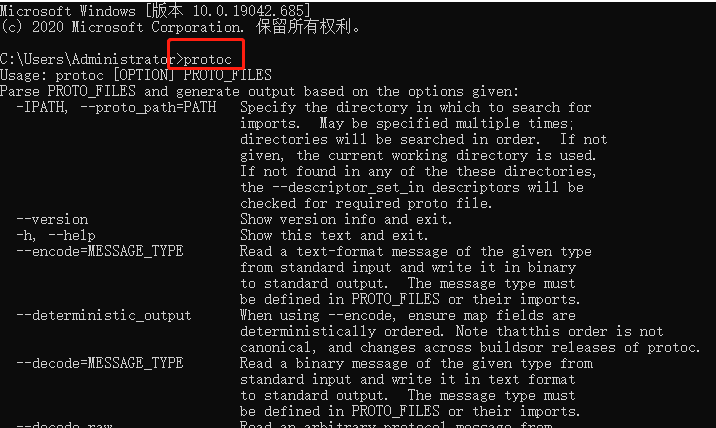
将解压后bin文件中的protoc.exe复制到C:\Windows\System32下,打开cmd,运行protoc,不报错即可。
2.2.3 编译
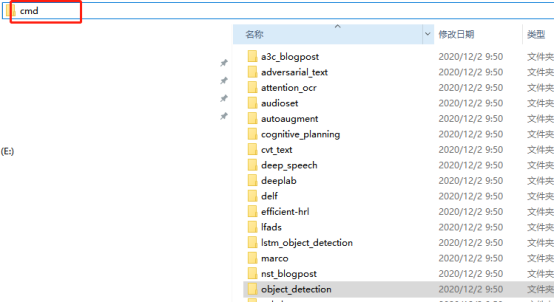
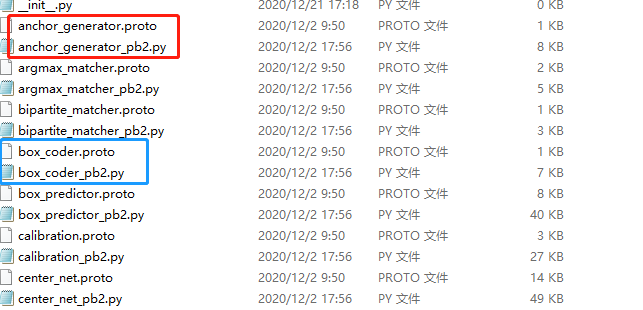
此时打开 models\research\object_detection\protos,里面后缀全是.proto的文件,编译成功的话,每个.proto文件都会对应一个.py文件。否则编译失败。
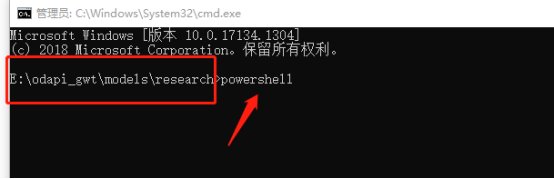
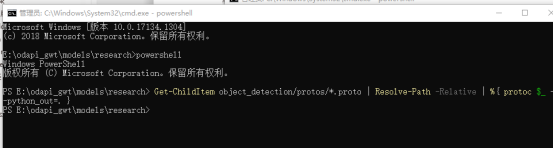
打开E:\odapi_gwt\models\research,选中路径输入cmd,可快速进入该文件夹中
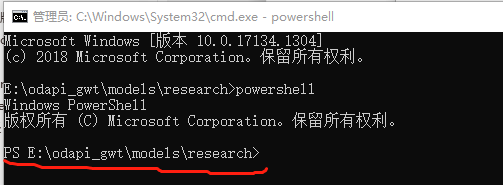
执行powershell
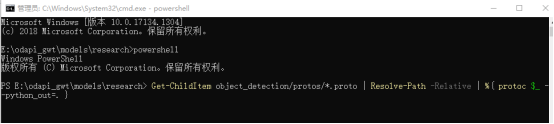
运行命令
==Get-ChildItem objectdetection/protos/*.proto | Resolve-Path -Relative | %{ protoc $ --python_out=. }==
运行完毕
查看models\research\object_detection\protos中文件的后缀即可。
2.3 安装COCO API
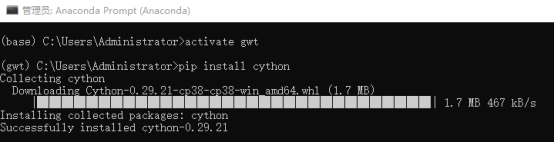
2.3.1 安装cython
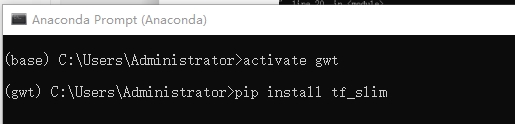
激活虚拟环境,安装包cython。
2.3.2 下载coco api压缩包
项目地址:https://github.com/philferriere/cocoapi,下载
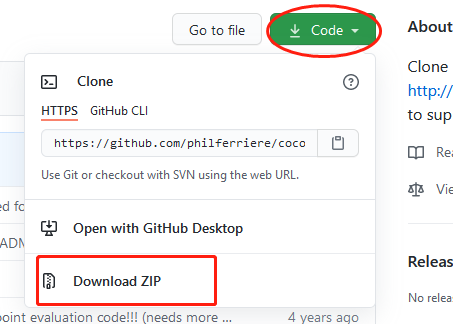
解压,
2.3.3 安装
安装前确定电脑里安装了Visual C++ 2015,下载地址,https://go.microsoft.com/fwlink/?LinkId=691126 ),默认安装即可。
cmd,激活虚拟环境,并打开解压的路径

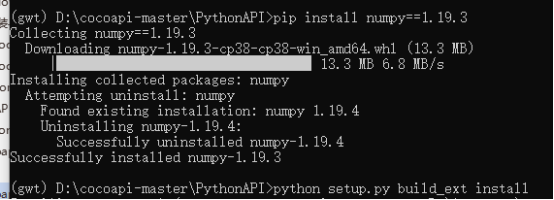
运行命令
==python setup.py build_ext install==
如果出现下面错误:
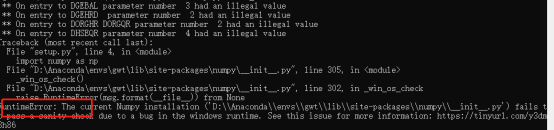
Numpy版本问题,需要运行pip install numpy==1.9.3,再次执行命令即可。
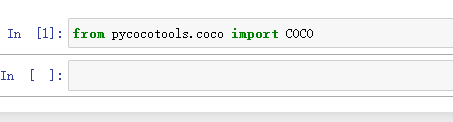
验证安装,运行jupyter notebook,
2.4 安装Object Detection API
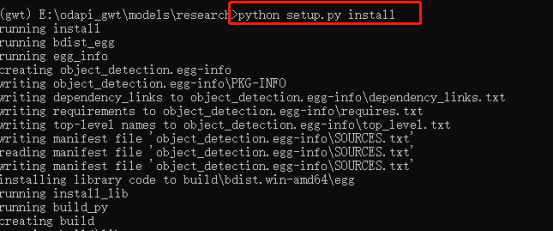
激活虚拟环境,运行命令,打开E:\odapi_gwt\models\research

然后运行命令
验证安装

如果出现错误
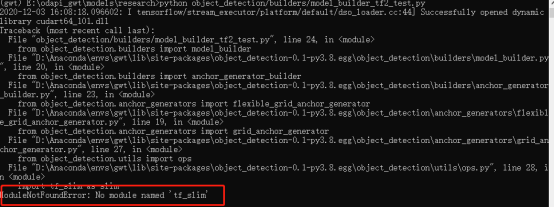
激活虚拟环境,安装即可